-
Image Format Advice
The following tips will help you get the best out of our image upload designs.
- Image Size
-
In order to look its best and not become pixelated, your image needs to be large enough. We recommend the following minimum sizes for best results:
Landscape images/logos: At least 1600 pixels wide
Portrait images/logos: At least 900 pixels tall
To obtain the exact dimensions for an image at 100% scale, click the "Technical Specification" link beneath the image upload box. If you upload an image in these dimensions and set the scale to 100%, it will not be resized. You can use these dimensions to create a layout in software such as Photoshop. Save the layout as a PNG file with a transparent background and you will be able to see the video background in the transparent areas of your layout.
- Cropping
-
When you upload an image, you can use our handy cropping tool to crop the image to a smaller size if required. After you’ve uploaded your image, simply drag the blue handles on each side of the image. You’ll see the cropped image update in the preview window.
You can reset the image to its original size by clicking the ‘Reset Crop’ button.
- File Format and Transparency
-
You can upload images/logos in either JPEG or PNG format.
There is one particularly important difference between these two file formats.
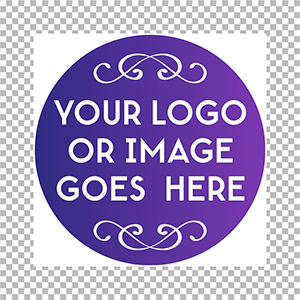
All JPEG and PNG files are rectangular in shape, but PNG files can have transparent areas, which means you can have a non-rectangular logo (such as a circle) with transparent pixels surrounding the logo.
Here’s an example. The chequered area shows where the background in your Text in Motion video would be visible:

PNG with a transparent background
JPGs do not support transparent backgrounds
As you can see, the transparent areas of the PNG will show the design behind, however the JPG image instead shows a white box where the transparent area should be.
If a graphic designer created your image they should be able to to supply it as a PNG file with a transparent background.
If you created it yourself in imaging software such as Photoshop, you should be able to find tutorials on the internet which explain how to create a transparent background in the software that you’re using.
There are also some websites which allow you to create images with transparency. A Google Image search will provide plenty of options.
- Going Beyond Logos
-
You could also create a more complicated design - for example a flyer advertising an event - using software such as Photoshop, save it as a PNG file and upload this to Text in Motion in order to add an animated background to your flyer design.
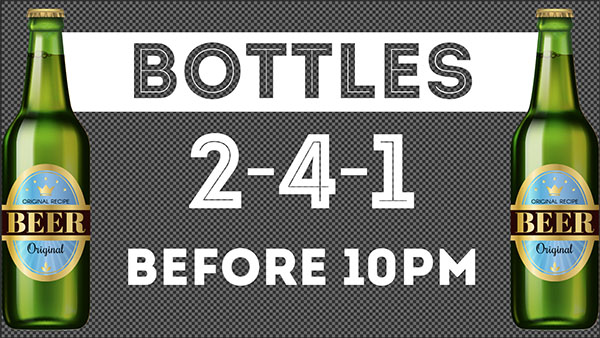
A complex image with a transparent background
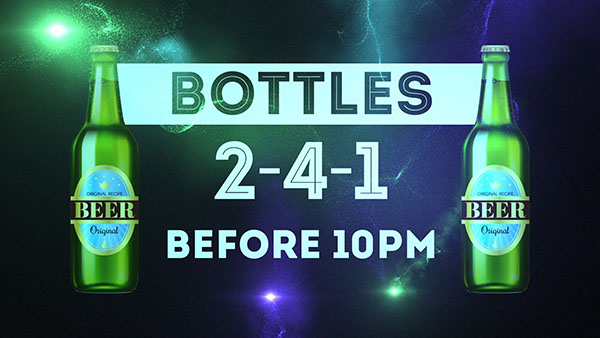
The finished Text in Motion video
- Getting the Best Out of 3D Designs
-
It's particularly important to format your logo correctly if you're ordering a 3D design. Check out the tips in this short video:
-
Image Previews
As images come in a wide variety of shapes, sizes and colours, not every image will work well with every design and sometimes the resulting video won’t look quite as you were expecting.
So we allow you to order a full-quality preview video of your image upload design before you purchase it.
Simply click the “REQUEST PREVIEW” button once you’ve customised your design.
You will need to log in to your Text in Motion account in order to order your preview. If you don’t have an account you will be prompted to register before you can order your preview.
You can either leave the page open until it refreshes with your finished video, or you can leave the website and wait for the notification email that we will send. You can always view your previews by logging into the website, clicking your username in the top right hand side menu, and selecting “Previews”.
Once your preview has been produced you can watch the video and decide whether to buy it. The preview will have a watermark over the top of it, and this watermark will be removed when you buy the video.
You have an initial allowance of 5 free preview orders per day. This is done to manage the load on our servers. However, if you decide to purchase your preview, you will gain one more preview that day.
This allowance will reset at midnight GMT each day - you will see a countdown showing how long remains until the allowance is reset.
If you are confident that you will be happy with the finished video, you can skip the preview stage and just buy the finished video immediately by adding it to your cart and going through the checkout as usual.
Your finished video will then appear in the “Orders” section on the website.
Bear in mind that all Text in Motion purchases are non-refundable though (except in event of an error on our part), so please be sure that you will be happy with your video before you purchase if you intend to skip the preview.